
How to Take Good Images of Your Artwork
Copyright © 2009 Terry Howell Stanley
There are myriad articles and blog postings about the technicalities of photographing your artwork. This article is meant to be a simplified basic lesson on that subject using a simple digital camera that takes pictures at least 4 Megapixels in size.
What you will need:
- 4MP (preferably more) digital camera, on maximum or "best" image size setting. Flash setting should be off.
- An easel or stand that allows the artwork to be positioned vertically (straight up - not leaning back or forward)
- A tripod for your camera
Best results are had outdoors on an overcast day. The next best is sunny, with your equipment set up so the sun is not shining directly on the painting. If you must work indoors, get two photoflood lights (or in a pinch, two lamps with shades off and with full-spectrum light bulbs. The lights should be elevated so the bulbs are roughly even with the painting and placed one on each side of your camera/tripod.
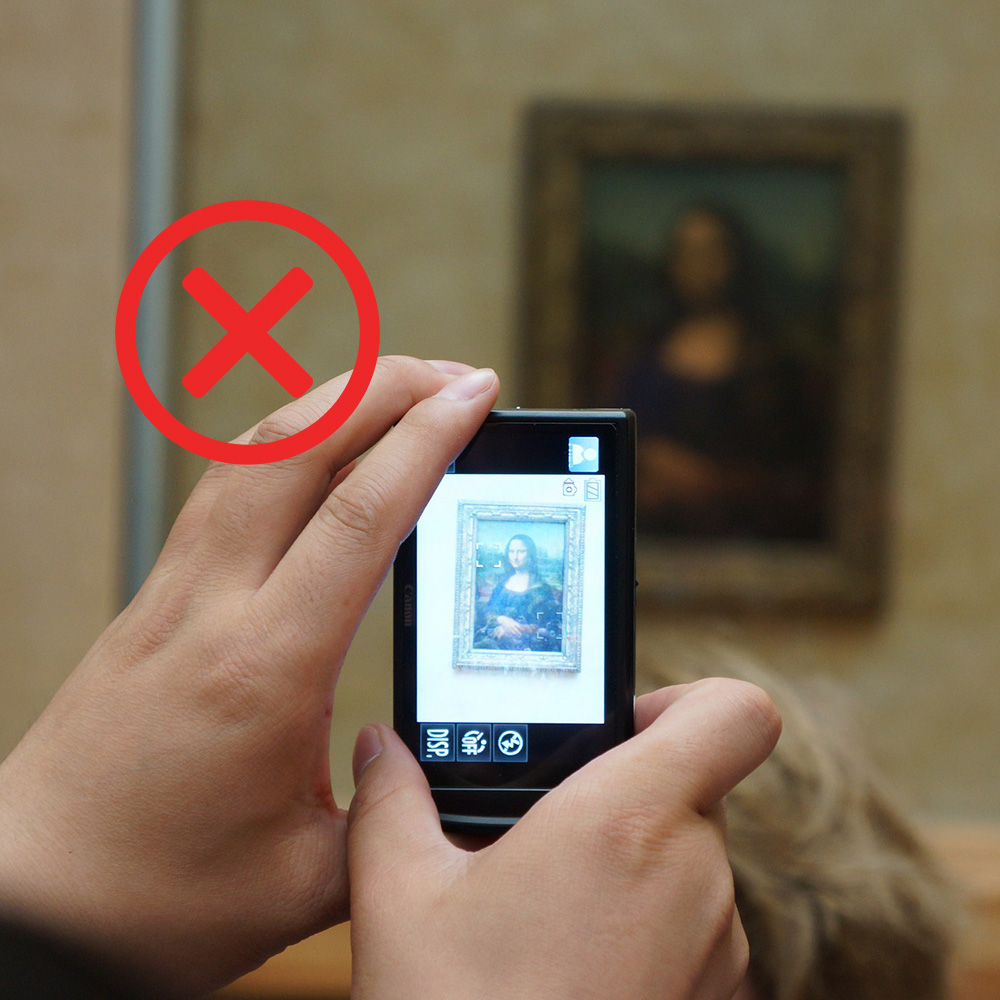
Your UNFRAMED artwork: No matter what you do, if the painting has glass/plexi on it, the photo will not be a good one. There are troublesome work-arounds that can minimize the "damage" of photographing a glazed work, but you will never obtain the best image possible.
- Make sure the painting on the easel is perfectly vertical to make cropping easy. Set against a neutral background or black foamcore.
- Adjust the camera on the tripod so the camera is also perfectly vertical.
- Adjust the tripod's height so that the lens of the camera is even with the center of the picture and so the lens is parallel to the painting surface.
- Move the tripod close enough to the painting so the viewfinder is filled with the image of the painting. Do NOT use "zoom": You will lose sharpness/focus. Note: If the artwork is a size that is not proportional to the camera's image area, you will need to crop out background once you transfer the image to your computer. If you do not know how to crop the picture on your computer, place a piece of black foamcore behind the painting. When you look through the viewfinder, everything that isn't the artwork should be the plain black of the foamcore.
- Recheck to make sure your artwork and camera are vertical and the surface of the painting and the camera lens are parallel to each other.
- Take the picture. Do NOT use flash. You may wish to take several images and even take some with the camera set to "Close-Up" or "Macro".
- Transfer the images to your computer. Crop if necessary so that ONLY the artwork shows.
If you've followed these steps, your camera is at minimum 4 megapixels and was set on "best" setting, your image should be sufficient for standard competition entries. You may need to resize the image on your computer to fit special requirements of certain competitions, particularly if the images are submitted digitally online. Those may require you to downsize the image. Downsizing the image is OK. However, trying to make a 72 dpi picture with 6" sides into a 300 dpi picture with 12" sides will result in the image being bad.
Some people are confused by the terms used in digital entries. DPI is "Dots Per Inch": 300 dpi is generally the minimum for good printing of an image, while 72 dpi is fine for computer screen viewing. Confusion arises most often when talking about inches and pixels. Knowing that there are correlatives is what many people don't understand: A 5" x 7" 300 dpi image is equal to 1500 pixels x 2100 pixels. A 72 dpi image measuring 1500 pixels x 2100 pixels would measure 20.83" x 29.17": These two images are "equal" to each other. If you pay attention to the PIXEL requirements, the dpi becomes irrelevant. Most photo editing programs will show you the pixel measurements.
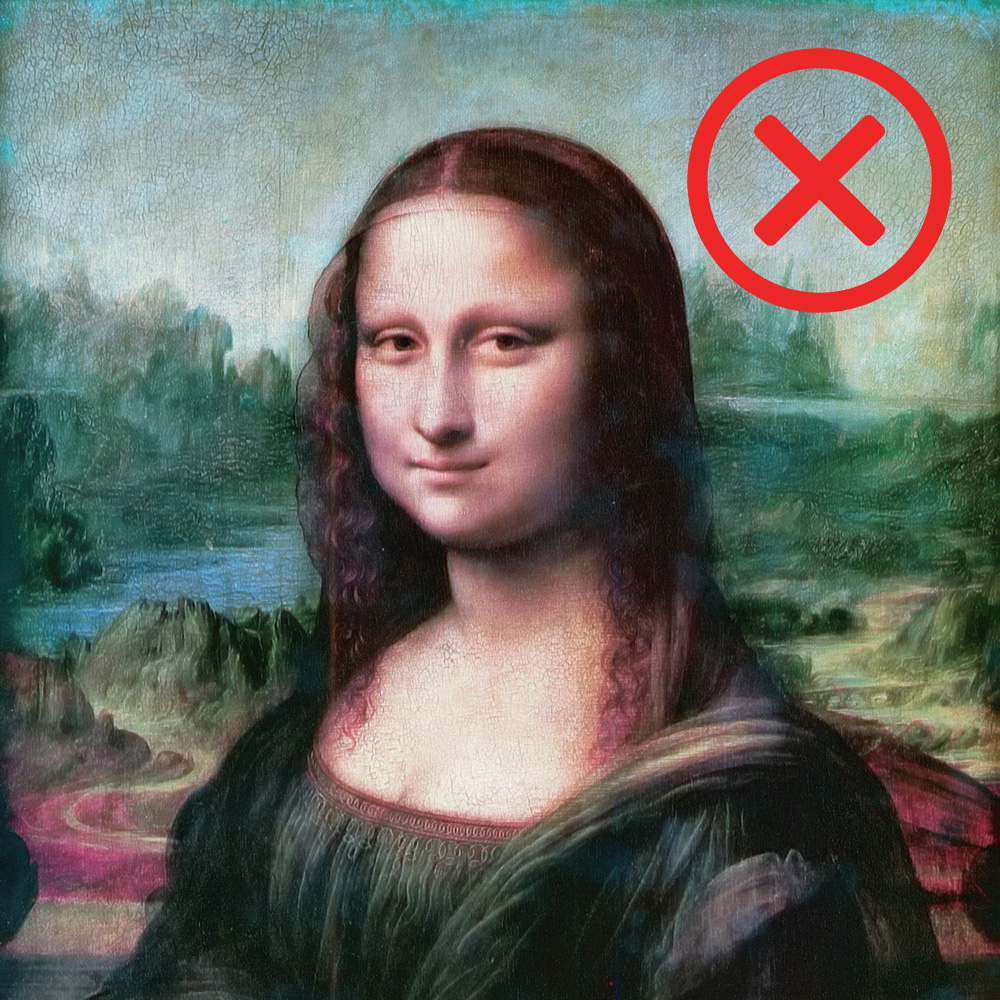
Low Resolution
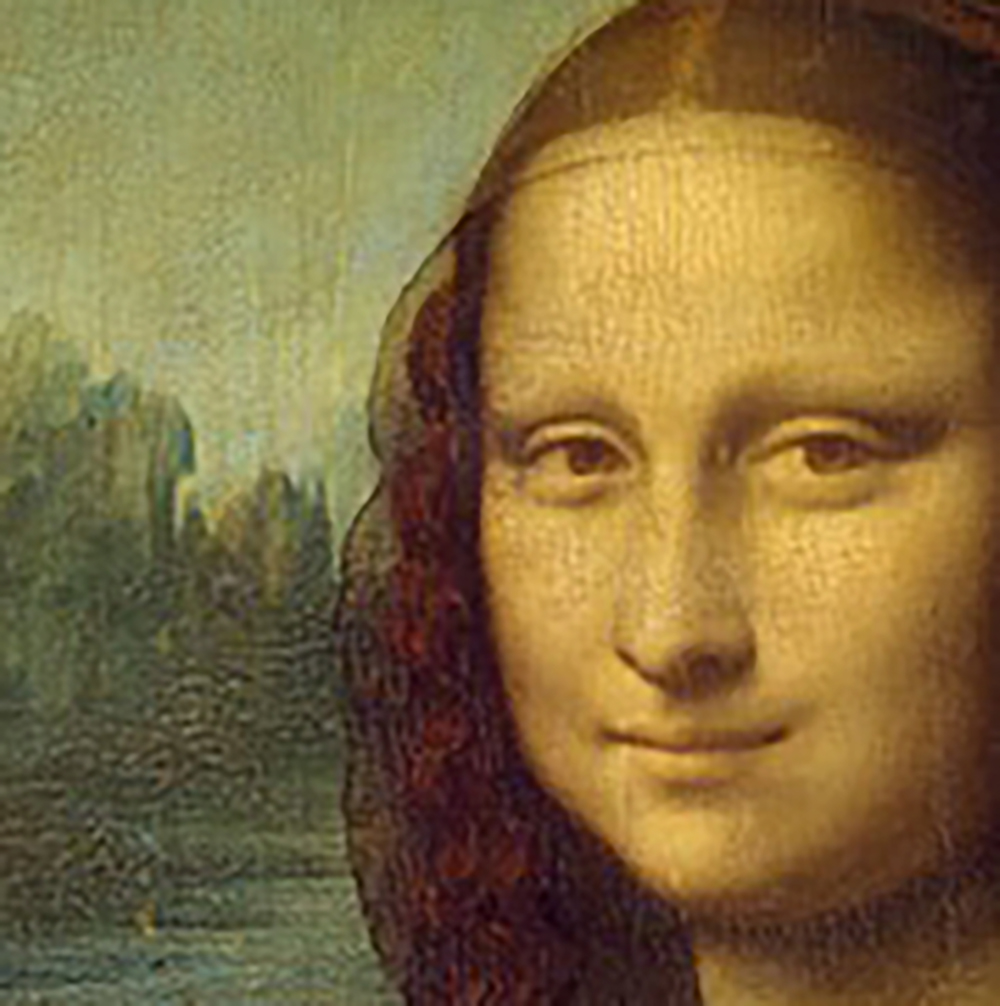
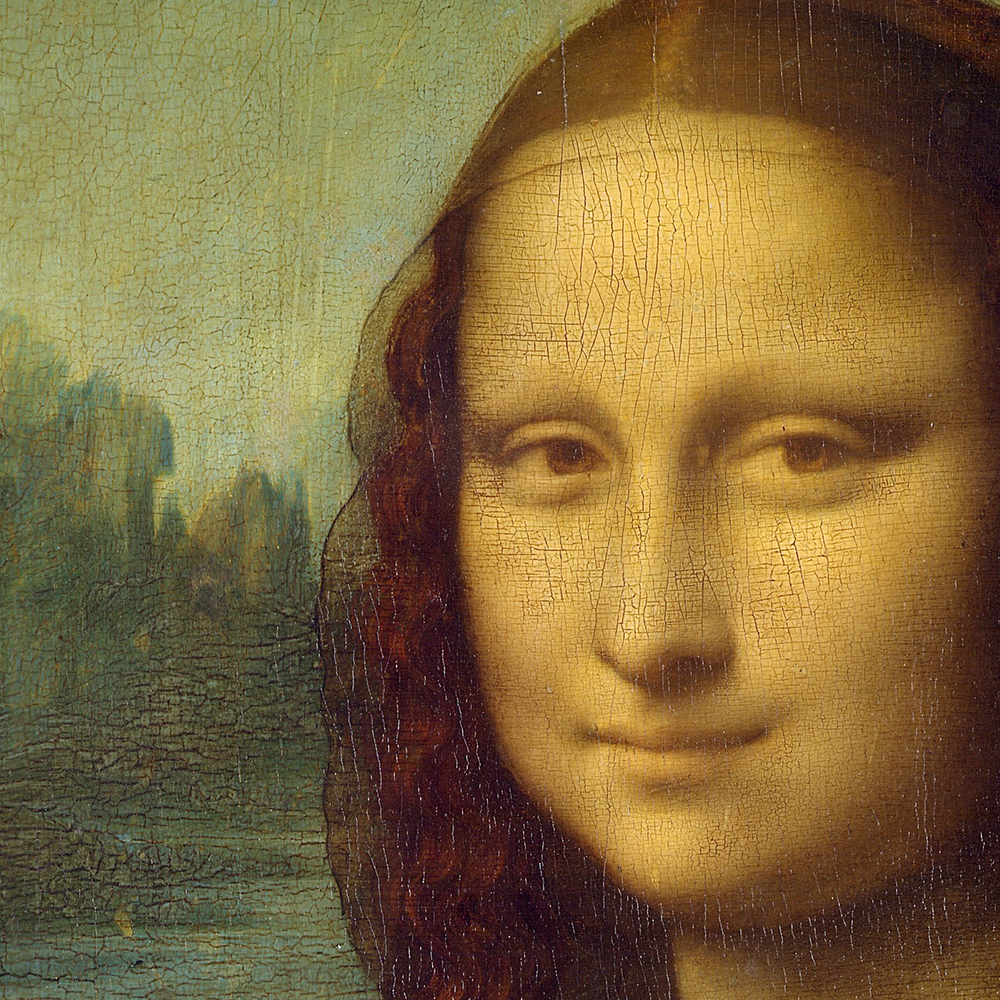
High Resolution
Freehanded
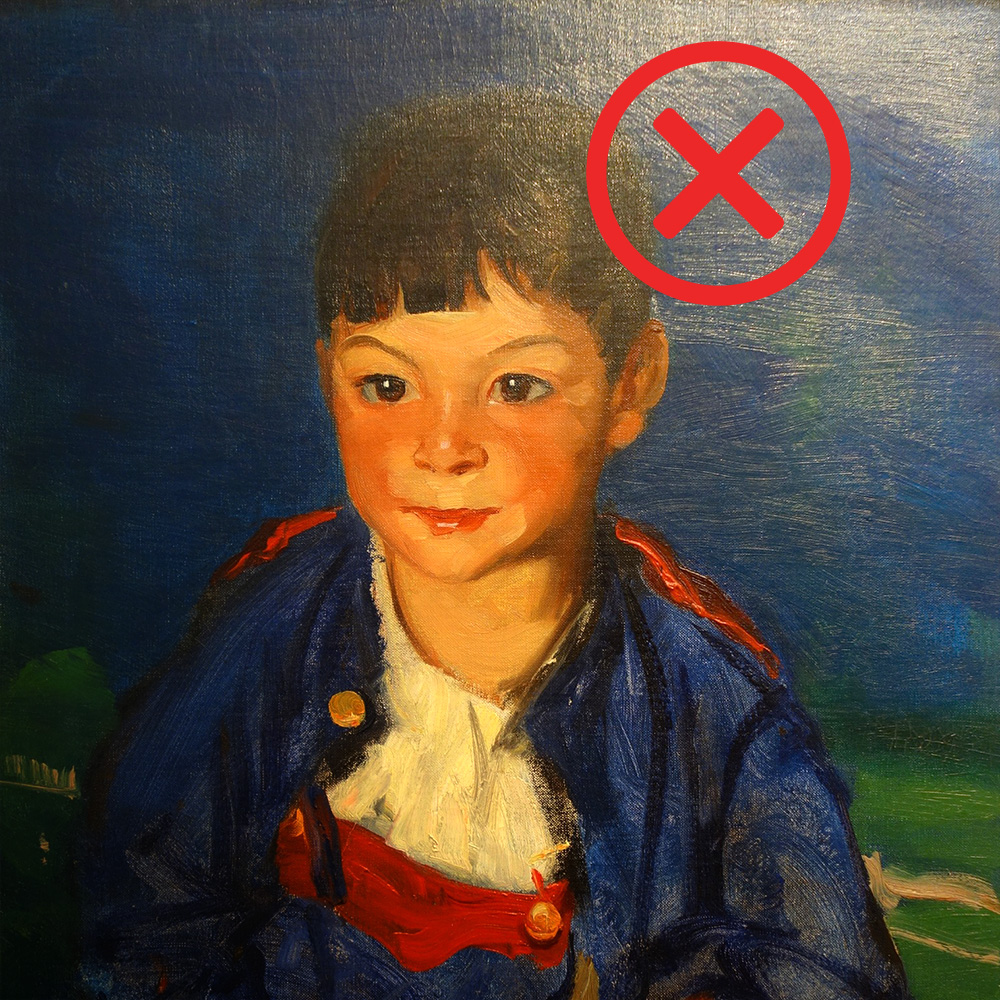
Glare/Unevenly Lit
Flash Used
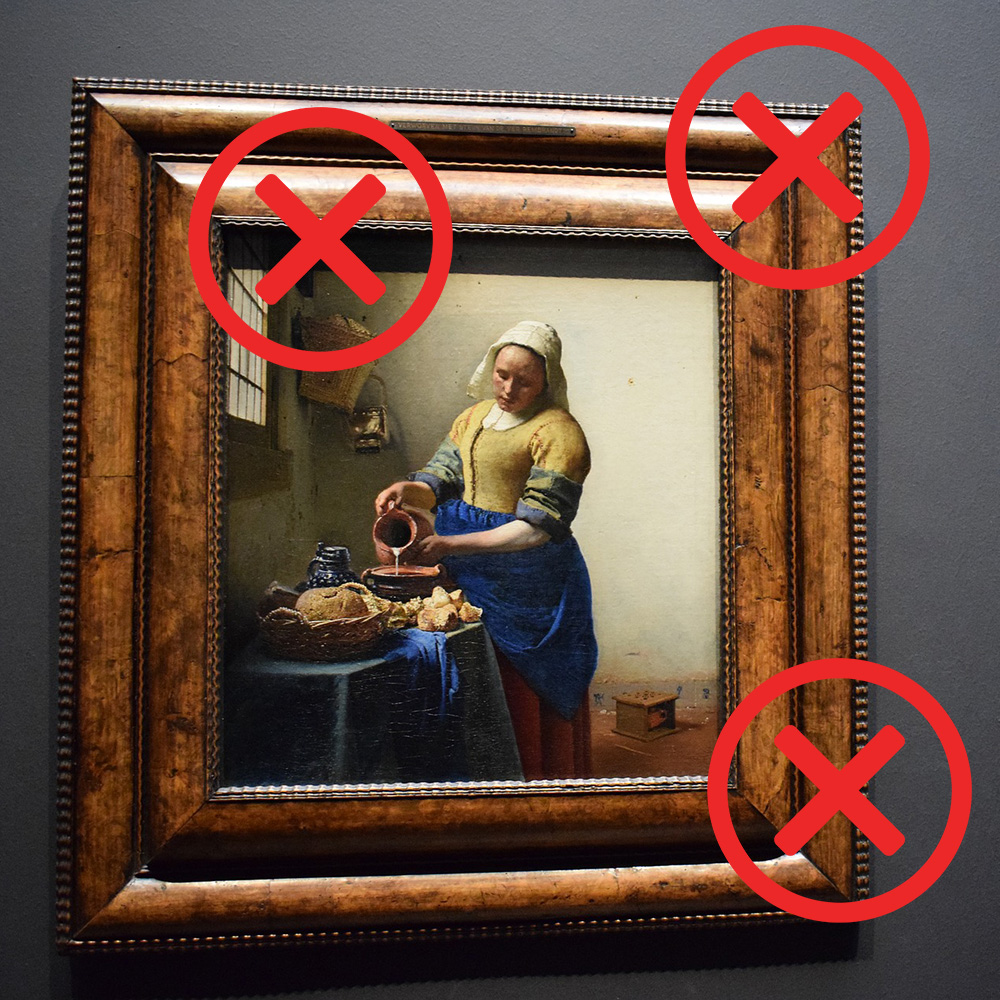
Photographed in Frame
Unevenly Lit
Askew
When competitions started accepting digital entries, there was great concern that artists would enhance their work on the computer and deficient work would be juried into exhibits with high standards. While it does happen occasionally, most competitions I am aware of that jury for a physical exhibit in a brick-and-mortar venue have added a statement in their prospectus' that any painting deemed not to live up to the digital image submitted can be excluded from the exhibit... and have done so!
Altering an image can range from adjusting brightness of the photographic image (to match the actual artwork) to correcting errors in drawing: The former would not be an exclusionary event, but the latter would be. Bringing the digital image in line with the physical painting is OK. CHANGING THE ARTWORK digitally is NOT OK. Even color correction, brightness and contrast adjustments can be detrimental. If your computer monitor is not as well calibrated as the one the juror is using, you could be hurting your chances more than helping them. Unless you are very sure of your own skill and computer settings, relying on your camera's defaults is usually the more prudent action in submitting images.
The best advice I can give you is that when you are going to submit your work to a competition, juried exhibit or even prepare a portfolio is this: Have a good camera, decent software that you've learned how to use and - above all - great paintings and drawings. Respect your work enough to give it a "fighting chance" to garner the notice you think it deserves!